
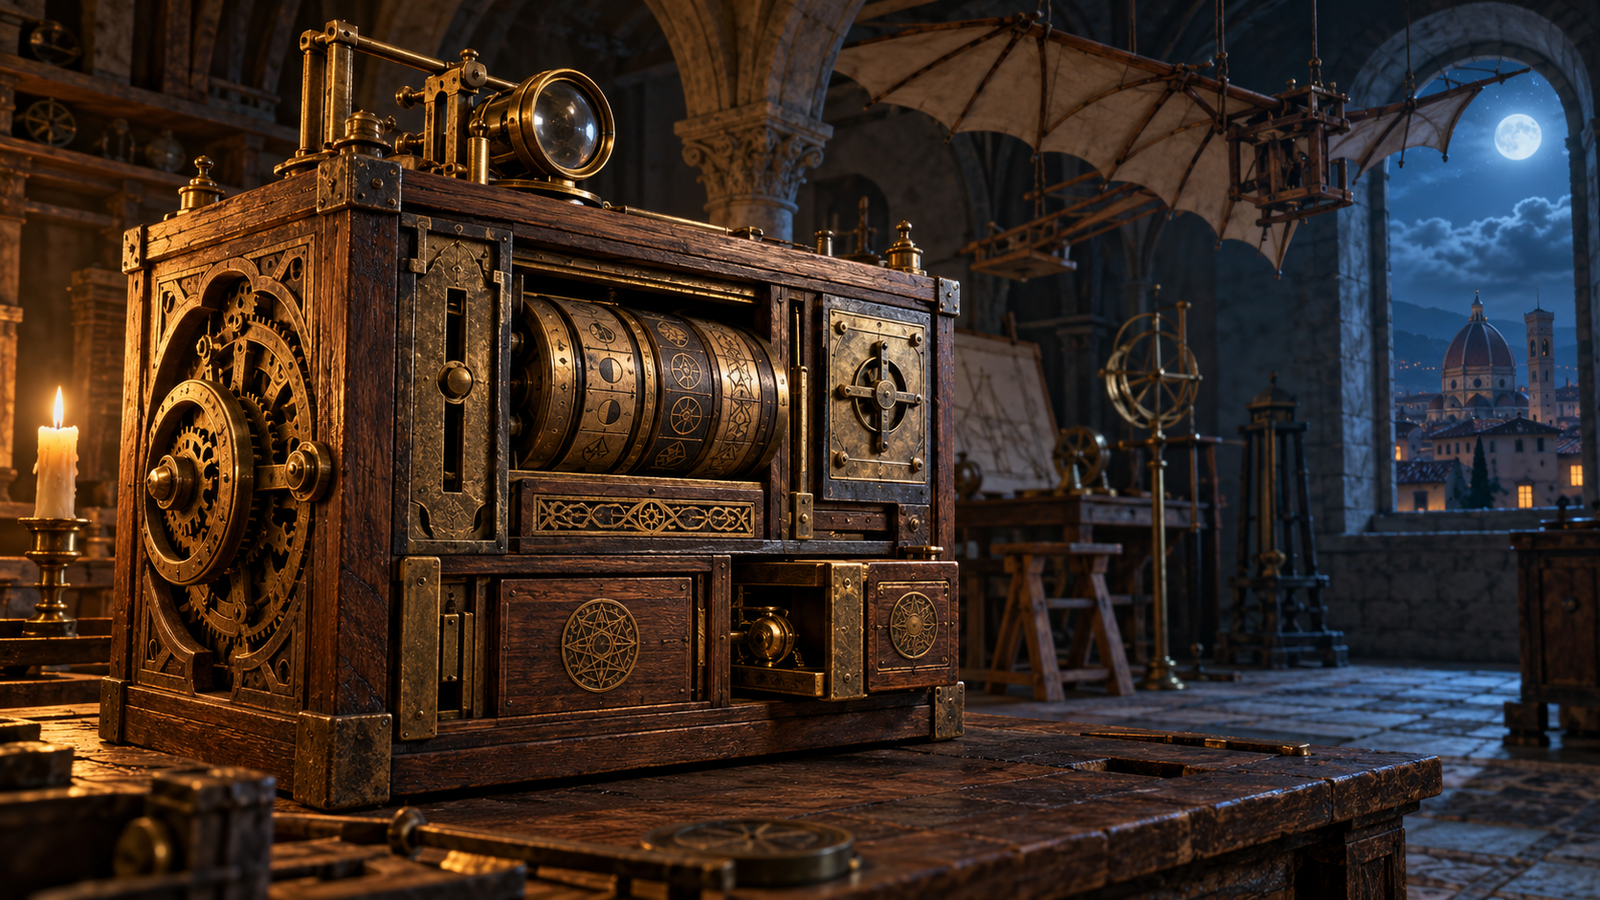
The House of Da Vinci is an engaging puzzle-adventure game that combines mechanical inventions, hidden objects, mysterious locations, and challenging brainteasers. Developed by Blue Brain Games, the game takes players into a world inspired by the inventions and creative genius of Leonardo da Vinci. Players assume the role of his apprentice, exploring the master’s surroundings to uncover secrets and investigate his mysterious disappearance.
Unlike traditional action games, The House of Da Vinci focuses on observation, exploration, logical thinking, and experimentation. Every room contains mechanical devices, locked compartments, secret messages, and interconnected puzzles. Players must carefully examine their surroundings, collect useful objects, and discover how different mechanisms work together.
If you are struggling with a difficult lock, a complicated mechanical device, or a puzzle that seems impossible to solve, this complete walkthrough will help you progress through the adventure.
This guide covers the game’s eight main chapters, essential puzzle-solving techniques, important inventory items, and solutions to several challenging sections.
Warning: This walkthrough contains spoilers, including puzzle solutions and story progression. If you prefer solving everything independently, use the relevant sections only when you become stuck.
Understanding The House of Da Vinci Gameplay
Before starting the walkthrough, it is helpful to understand the mechanics that make The House of Da Vinci different from ordinary adventure games.
The game uses a first-person perspective, allowing players to inspect objects closely, rotate mechanisms, open drawers, and examine unusual inventions. Almost every object that appears important deserves a closer look.
Explore Every Object Carefully
When entering a new room, avoid rushing directly toward the most obvious mechanism. Examine tables, shelves, statues, paintings, doors, and furniture.
Some objects contain hidden compartments that become accessible only after completing another puzzle. Others provide clues that explain the symbols or arrangements required elsewhere.
Collect and Combine Inventory Items
The inventory system plays an essential role throughout the adventure. You may discover keys, metal components, wooden pieces, gears, and other objects that unlock new areas.
Inspect each item after collecting it. Some objects can be rotated, unfolded, or combined with other components.
Use Leonardo’s Special Devices
Two important inventions are the Oculi Infinitum and Oculi Tempus.
The Oculi Infinitum helps reveal hidden mechanical structures and otherwise invisible details. The Oculi Tempus allows players to examine earlier moments in time and interact with clues associated with the past.
Learning when to use these devices makes several puzzles considerably easier.
For additional chapter-by-chapter reference, players can consult the published walkthroughs from Just Adventure and AppUnwrapper.
Chapter 1: Street Walkthrough
The opening chapter introduces the controls, inventory mechanics, and first major invention. Although the puzzles are relatively simple, they establish techniques that become increasingly important later.
Step 1: Examine the Guard’s Scroll
Begin by looking around the street and interacting with the guard. Examine the scroll he carries and collect it.
Open the inventory and inspect the document. Remove the ribbon securing it, then unroll the scroll to read Leonardo’s message.
This establishes the mystery surrounding your master’s disappearance and directs you toward the entrance.
Step 2: Solve the Doorbell Puzzle
Approach the door on the left and examine the bell mechanism beside it.
Rotate the upper section until it fits correctly against its support. Next, rotate the lower section to release the side arms.
Pull the chain to ring the bell.
A small metal component will become available. Collect it before examining the nearby mailbox or concealed mechanism.
Step 3: Assemble the Key
Inspect the mailbox and look for a concealed section that can be opened by sliding its cover.
Collect the second key component and examine both pieces in your inventory.
Combine them by aligning their connecting sections and rotating them into position. Once correctly assembled, you will have a usable key.
Insert the key into the appropriate lock and turn it to open the compartment.
Step 4: Obtain the Oculi Infinitum
Inside the newly opened compartment, collect the Oculi Infinitum.
Activate the device and examine the entrance door. Hidden mechanical components will become visible.
Rotate the three internal pieces until their pentagonal openings align in the centre.
When the mechanism is correctly arranged, the door unlocks. Enter the building and proceed upstairs.
Finally, interact with the lion-headed door handle to open the next entrance and complete the opening section.
Important tip: Whenever an ordinary-looking object appears impossible to open, activate the Oculi Infinitum. The hidden mechanism may reveal the missing step.
Chapter 2: Library Walkthrough
The library introduces more complicated mechanisms, secret compartments, and puzzles that require players to connect clues from different objects.
Step 1: Examine the Lamp Stand
Begin by examining the lamp stand and searching for a concealed scroll.
Remove its seal and read the message. The document contains clues that become useful when examining other mechanical objects.
Next, inspect the seal in your inventory. Rotate its middle section until the arrows align correctly.
This transforms it into a three-spoked seal that can be used on a matching mechanism.
Step 2: Investigate the Bust
Move toward the bust and inspect its helmet and surrounding compartments.
Look for a mechanism that accepts the three-spoked seal. Insert the seal in the correct position and rotate it until the device unlocks.
Examine the helmet and activate the Oculi Infinitum to reveal additional components.
The puzzle requires careful manipulation of the visible gears. Move the relevant gears into position and rotate them in opposite directions where necessary.
Once the mechanism opens, collect the wooden ornament and any small metal components revealed inside.
Step 3: Open the Ivory Case
Inspect the ivory case beneath the bust.
Use the Oculi Infinitum to locate its concealed opening. Focus on the marked panel and slide it aside.
Use the wire collected earlier to manipulate the internal mechanism. Rotate the wire until the latch releases.
Open the drawer and collect the wooden ornament component.
This piece will become useful when repairing another mechanism in the library.
Step 4: Solve the Wooden Ornament Puzzle
Examine the wooden ornament pieces in your inventory and combine them where possible.
The objective is to create a complete decorative component that fits into the appropriate slot.
Inspect the lamp stand and place the completed ornament in its matching position.
This activates a larger sliding puzzle involving connected panels and narrow pathways.
Move the ornament through the available grooves, opening routes by sliding the surrounding plates. When circular mechanisms appear, rotate them to connect the pathways.
Solution strategy: Concentrate on creating a continuous route rather than moving every panel randomly. If the ornament cannot advance, inspect the nearby plates for a blocked passage.
Step 5: Discover the Hidden Passage
After completing the lamp stand mechanism, examine the nearby bookshelf.
Search for movable sections, unusual markings, and concealed switches. Several library puzzles are connected, so solving one mechanism may unlock a new section of furniture.
Continue inspecting newly revealed compartments until you uncover the passage leading deeper into Leonardo’s house.
Chapter 3: Workshop Walkthrough
The workshop contains mechanical inventions, experimental devices, and some of the game’s most memorable puzzles.
The main challenge is learning how Leonardo’s machines operate while locating the missing components required to activate them.
Step 1: Examine the Catapult Model
Approach the catapult and inspect its front, sides, and rear.
Look for a missing shield and other incomplete components.
Examine the small figures positioned on the machine. Rotate them until they face the appropriate direction and interact with the levers nearby.
When the figures and levers are correctly positioned, a hidden gear becomes accessible.
Collect the gear and inspect the rear compartments.
One compartment contains a small metal component, while another mechanism controls the machine’s projectile.
Step 2: Repair the Catapult
Locate the appropriate shaft on the rear-left side of the catapult and install the wooden wheel.
Rotate it anticlockwise to activate the mechanism.
Next, inspect the opposite side and open the concealed compartment to collect the missing metal part.
Operate the relevant lever to activate the remaining mechanism.
If the machine does not respond, check that all required components are installed and that the smaller levers have reached their correct positions.
Step 3: Solve the Globe Puzzle
The globe is one of the workshop’s major puzzles.
Examine its upper section and rotate the segments until the diamond pattern is restored.
Collect the sun-shaped metal object that becomes available.
Inspect the object in your inventory and attach the small metal component collected from the catapult. Rotate the pieces until they form a functional sun key.
Return to the globe and examine its side. Open the shutters and rotate the rings until the keyhole becomes visible.
Insert the sun key and turn it to unlock the globe.
Step 4: Complete the Strategic Model Puzzle
Another important workshop challenge involves a model representing territorial expansion.
The game requires you to select numerical values in a particular order. Choosing incorrectly can prevent progress, so study the available numbers before making a move.
The following sequences are documented solutions for the three rounds:
| Round | Region | Number sequence |
|---|---|---|
| 1 | Sardinia | 14, 29, 32, 19, 38, 77 |
| 2 | Italy | 20, 28, 30, 47, 58 |
| 3 | Africa | 100, 123, 46, 143, 34, 300, 55, 351, 512, 790 |
Use the sequence corresponding to the current round.
If the puzzle resets, begin the current sequence again and avoid selecting additional numbers unnecessarily.
Step 5: Search for Hidden Blueprints
Before leaving the workshop, thoroughly inspect the surrounding tables, shelves, and mechanical models.
Some drawings and blueprints are hidden in locations that are easy to overlook. Collectible plans can also contribute to achievement progress.
The workshop is an excellent example of why exploration matters just as much as solving the obvious puzzle.
Chapter 4: Courtyard Walkthrough
The courtyard changes the pace of the adventure by combining environmental clues with mechanisms that require interpretation rather than straightforward key assembly.
Step 1: Investigate the Entrance
Examine the large entrance and its surrounding decorations.
Look closely at inscriptions, symbols, and any carvings that appear unusual. These details may provide clues to the order in which nearby mechanisms must be activated.
One important inscription reads NOMEN ILLI MORS, which translates approximately to “His name was Death.”
Remember this phrase when examining the courtyard’s puzzles.
Step 2: Solve the Door Mechanism
Approach the puzzle at the base of the door.
Examine its buttons and compare them with the available clues. The mechanism requires specific selections rather than random experimentation.
A documented solution arrangement is:
| Position | Required input |
|---|---|
| Upper-left | Leave unchanged |
| Upper-middle | Leave unchanged |
| Upper-right | Select 3 |
| Lower-left | Select 2 |
| Lower-middle | Select 1 |
| Lower-right | Leave unchanged |
Here, “leave unchanged” means that the position marked X in the published solution should not receive an additional selection.
Apply the arrangement carefully and activate the mechanism.
If the door remains locked, double-check the positions before repeating the sequence.
Step 3: Search the Courtyard
Once the entrance opens, investigate the newly accessible area.
Examine statues, walls, decorative panels, and objects placed near doorways.
The game frequently uses visual clues to communicate the intended solution. A repeated symbol may correspond to a dial, while a particular shape may indicate where an inventory item belongs.
Do not leave the area until you have collected any newly revealed components.
Chapter 5: Crypt Walkthrough
The crypt introduces darker surroundings and more elaborate mechanisms.
Several puzzles involve concealed panels, rotating parts, and objects that must be collected from separate locations before they can be combined.
Step 1: Examine the Sarcophagus
Begin by inspecting the sarcophagus and its decorative sections.
Look for missing pieces, including any animal-shaped ornaments. If a compartment contains an empty space, search the nearby environment for a matching component.
Insert the appropriate piece and move it into the required position.
This reveals a concealed mechanism beneath the decorative surface.
Step 2: Retrieve the Cogwheel
Examine the newly exposed recess.
Install the mechanism component collected from the surrounding environment, then pull or rotate it until the internal assembly releases.
Collect the cogwheel.
Inspect the lower section of the sarcophagus for another rotating disc or sliding shaft. Manipulating these components can unlock an additional compartment.
Step 3: Find the Medallion
Inspect the area beneath the stairs.
A small door or concealed compartment may contain the medallion needed for the next mechanism.
Open the compartment and collect the item.
Return to the larger structure and locate the matching circular slot.
Insert the medallion and rotate the connected discs. The objective is to position the symbols correctly so the mechanism releases its next component.
Step 4: Solve the Sliding-Block Puzzle
One of the more demanding challenges involves moving several blocks to create a route for a special piece.
Before moving anything, examine the entire board.
Identify which pieces can move horizontally and which can move vertically. Then work backward from the exit to determine which blocks must move first.
The general strategy is to clear the target piece’s route without trapping other blocks against the board’s edges.
If the puzzle becomes difficult, reset it and attempt a more deliberate sequence rather than repeating random movements.
Once the route is clear, move the target piece toward the exit and collect the newly revealed object.
Chapter 6: Armory Walkthrough
The armory contains large mechanical structures, ornate boxes, and a maze puzzle that can be particularly frustrating.
Step 1: Collect the Cube and Metal Cross
Begin by inspecting the large wooden table.
Collect the cube and examine it in your inventory. Manipulate its individual sections until a small metal key becomes accessible.
Read the note on the table because it provides clues for the mechanisms elsewhere in the room.
Next, inspect the smaller wooden table and collect the metal cross.
Keep both objects available because they serve different purposes during this chapter.
Step 2: Solve the Emerald Maze
Locate the puzzle board containing the emerald.
The objective is to guide the green piece through the maze until it reaches the exit on the right.
The maze contains multiple junctions, and selecting the wrong direction may send the piece away from the intended route.
A documented sequence of junction choices is:
J, J, C, D, E, O, S, O, P, K, K, P, T, L, I, I, H, K, L.
Follow the route in order, using the corresponding labels displayed on the puzzle board.
Because the board’s layout determines the direction associated with each label, verify that you are following the correct junctions rather than treating the letters as independent movement directions.
Once the emerald reaches the destination, collect the emerald-topped gold fitting.
Step 3: Open the Small Wooden Box
Find the wooden box designed to accept the metal cross.
Insert the cross and examine the rings inside.
Rotate the gold and silver rings until their openings align at the top and bottom. This allows additional knobs to move toward the centre.
Turn the knobs until the central opening becomes accessible.
Next, rotate the metal ball until its circular, square, and diamond-shaped markings align with the surrounding design.
Collect the square medallion revealed inside the mechanism.
Step 4: Solve the Ornate Strongbox
Approach the large ornate strongbox and press its central button.
Rotate the star-shaped component until the symbols around its edges match.
Slide the doors open to reveal a multi-level puzzle.
Insert the square medallion into the appropriate slot to activate the board.
The objective is to move the medallion across the spaces according to the board’s rules.
For the first level, one documented sequence is:
Up, right, down three times, left twice, up four times, right three times, down four times.
For the second level, follow:
Right five times, down three times, left four times, up seven times, left twice, down, left, up, left twice, right, down twice, right, down twice, right.
Follow the movements carefully and check the board after each section.
If the medallion cannot move in the specified direction, verify its current position before continuing.
Chapter 7: Tower Walkthrough
The tower contains astronomical instruments, symbol-based challenges, and several puzzles that require players to combine observation with timing.
Step 1: Decode the Shape Sequence
Locate the document containing the relevant geometric clues.
One important sequence is:
Hexagon → Circle → Diamond → Square
Use this order when activating the corresponding shape-based mechanism.
Inspect each symbol carefully because similar-looking shapes can be easy to confuse.
Step 2: Solve the Moon-Phase Puzzle
Find the astronomical mechanism and examine its moon-phase symbols.
The goal is to arrange the phases according to the clues provided by the surrounding objects or documents.
Do not rotate the pieces randomly. Identify which phase belongs in each position and then make the necessary adjustments.
When the moon phases are correctly aligned, the mechanism will allow you to proceed.
Step 3: Activate the Astrolabe
The astrolabe puzzle introduces a timing challenge.
Rotate its hands while observing the moving tiles. Certain symbols glow when the instrument is correctly aligned.
Your objective is to maintain the correct alignment long enough to complete the mechanism.
Move slowly and make small adjustments. Rapidly rotating the hands makes it harder to follow the changing symbols.
If the symbols stop glowing, reposition the hands until the correct alignment returns.
Step 4: Complete the Remaining Mechanical Puzzles
Continue exploring the tower and inspecting newly accessible compartments.
Several puzzles involve sliding blocks, rotating tiles, and matching symbols.
Before beginning each challenge, identify its objective. Determine whether the mechanism requires a particular arrangement, a continuous pathway, or a sequence of movements.
Keep track of any new objects you collect because they may unlock another section of the tower.
Chapter 8: Time Machine Walkthrough
The final main chapter brings together many of the game’s central mechanics, including inventory management, mechanical reasoning, and the use of Leonardo’s inventions.
Step 1: Solve the Shape-Counting Puzzle
Begin by examining the objects and geometric shapes associated with the machine.
Count each type carefully.
A documented solution contains:
| Shape | Quantity |
|---|---|
| Tetrahedrons or pyramids | 8 |
| Diamond-like shapes | 2 |
| Nearly spherical shapes | 4 |
Use these totals to identify the corresponding symbols on the mechanism.
Make sure you distinguish between the different shapes before entering the values.
Step 2: Activate the Boiler
The boiler puzzle requires players to operate a series of levers.
A documented lever sequence is:
4 → 5 → 2 → 3 → 1 → 6
Follow the sequence carefully, but remember that the mechanism also requires preparation.
Begin by pumping the boiler and activating the first three levers. When the third lighter falls off, locate the missing component upstairs.
Before replacing it, pump the boiler again and relight the first two components as required.
Return the missing lighter to its position and continue with the remaining sequence.
If the machine fails to activate, check that you completed the preparation steps before pulling the remaining levers.
Step 3: Solve the Water-Level Puzzle
The water puzzle requires careful manipulation of the machine’s controls.
Examine the available channels, valves, and water levels to understand how each control affects the mechanism.
The objective is to move the water into the required configuration without leaving another section in an incorrect state.
Change one control at a time and observe the result. If the water moves in the wrong direction, reconsider how the channels connect.
Avoid repeatedly activating every valve because doing so can make the puzzle harder to track.
Step 4: Complete the Final Mechanisms
Continue through the newly opened areas and examine every accessible mechanism.
Use the geometric clues, inventory items, and information gathered in earlier chapters.
When the final sequence becomes available, follow the clues provided by the surrounding machinery rather than relying on random experimentation.
Completing the remaining mechanisms brings the main adventure to its conclusion.
Essential Tips for Solving Difficult Puzzles
Although this walkthrough provides solutions to several major challenges, understanding the game’s design can make the entire experience more enjoyable.
1. Inspect Objects From Multiple Angles
A mechanism that appears simple from the front may contain a hidden switch on its side or underside.
Rotate objects whenever possible and examine their backs, edges, and concealed panels.
2. Revisit Previously Explored Rooms
Some locations change after you collect a new item or activate another mechanism.
If you discover an unusual component, consider whether it belongs to a device you encountered earlier.
3. Examine Every Inventory Item
Collected objects may contain hidden parts or movable sections.
Rotate, unfold, and inspect them before assuming they are ready to use.
4. Use the Oculi at the Right Time
Activate the Oculi Infinitum when a device appears to have hidden internal parts.
Use the Oculi Tempus when the game provides a clue that involves an earlier version of a location.
These inventions are essential tools rather than optional extras.
5. Avoid Random Movements
Many puzzles depend on precise positioning.
Before moving a piece, determine what the move should accomplish. If a mechanism becomes more complicated, consider resetting it and following a deliberate plan.
6. Read Notes and Inscriptions
Letters, drawings, and inscriptions frequently contain information needed to solve a puzzle elsewhere.
Do not assume a document is unimportant simply because it does not immediately unlock anything.
7. Collect Optional Drawings
Search carefully for blueprints and drawings throughout the adventure.
These collectibles may contribute to achievements and provide additional insight into Leonardo’s inventions.
Is The House of Da Vinci Worth Playing?
The House of Da Vinci is an excellent choice for players who enjoy atmospheric puzzle adventures, mechanical mysteries, and games that reward patience.
Its greatest strength is the way it connects seemingly unrelated objects. A small metal component found in one room may unlock a complicated machine several chapters later. This encourages players to observe their surroundings and think about how the different systems work together.
The game also benefits from its Renaissance-inspired setting. Mechanical inventions, ornate furniture, hidden passages, and mysterious documents create an environment that feels distinct from conventional escape-room games.
However, some puzzles can become frustrating when their clues are difficult to interpret. Players who prefer fast-paced action may also find the deliberate pace less exciting.
Nevertheless, the combination of exploration, intricate machinery, and logical challenges makes the experience rewarding for puzzle enthusiasts.
Final Verdict
The House of Da Vinci offers a memorable adventure built around discovery, experimentation, and mechanical problem-solving. From the opening street puzzles to the final time-machine challenges, each chapter introduces new obstacles that test the player’s patience and observational skills.
This walkthrough provides solutions for the major puzzles across all eight main chapters, including the door mechanism, workshop globe, courtyard entrance, crypt mechanisms, armory maze, tower puzzles, and time-machine sequence.
For the best experience, try solving each puzzle independently before consulting the relevant section. Use the solutions when necessary, inspect every object carefully, and remember that even the smallest clue may become important later.
Whether you are playing for the first time or returning to complete unfinished challenges, The House of Da Vinci remains a rewarding choice for anyone who enjoys thoughtful adventure games and intricate mechanical puzzles.